Critical Labels
Picking up were I left off yesterday, let's label all these critical points. Before I do though, I'd like to thank Angel for posting about my new blog. Thanks!
Labeling Critical Points
None of the out of the box labels really work the way I would like them to, but that doesn't mean that AutoDesk didn't provided the tools to make a label like I want!
Let's start by making some new expressions. No, it's not a mistake, I am making the expressions under the Depth label category, even though I will eventually be labeling a station and elevation. Why? Because I like the look and feel of the depth label, it just doesn't label what I want it to...out of the box.
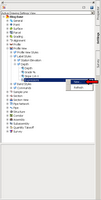
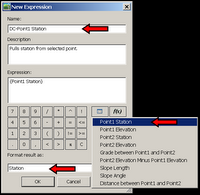
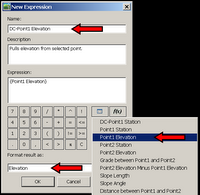
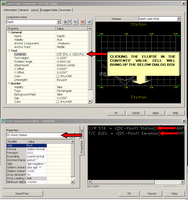
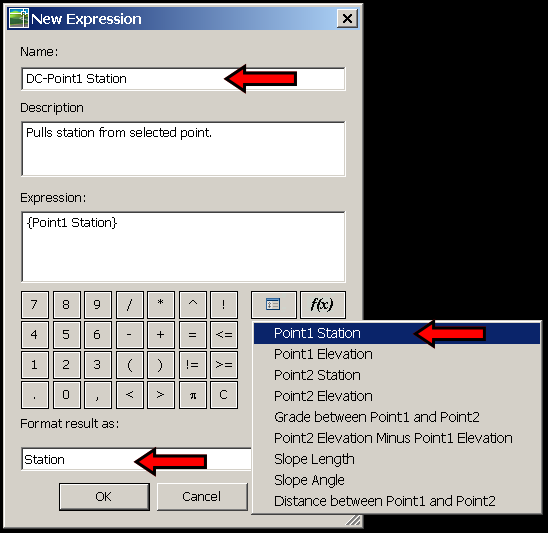
Two expressions need to be created. One for the station of the selected point and one for the elevation of said point. Pay close attention to the format that the results will displayed as. Now is a good time to extend your cad standards and naming convention to expressions.
Station Expression:
Elevation Expression:
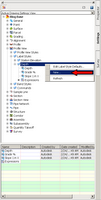
Now that we have the expressions built, let's combine then into a label that we can use.
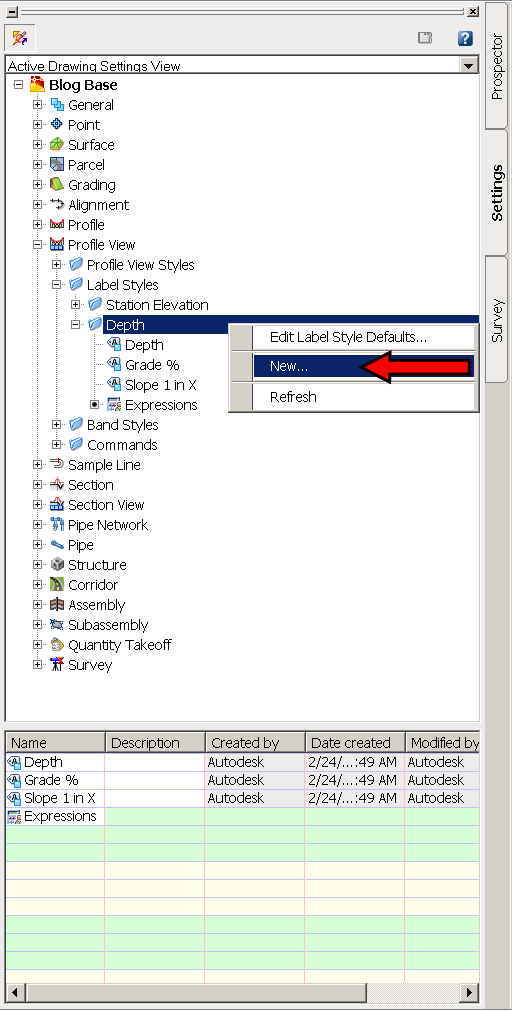
First, create a new label:
Now, let's format the label to take advantage of the new expressions:
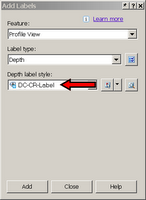
After creating the new label style, it's time to label the critical points on our subject profile.
Profiles>Add Profile View Labels...
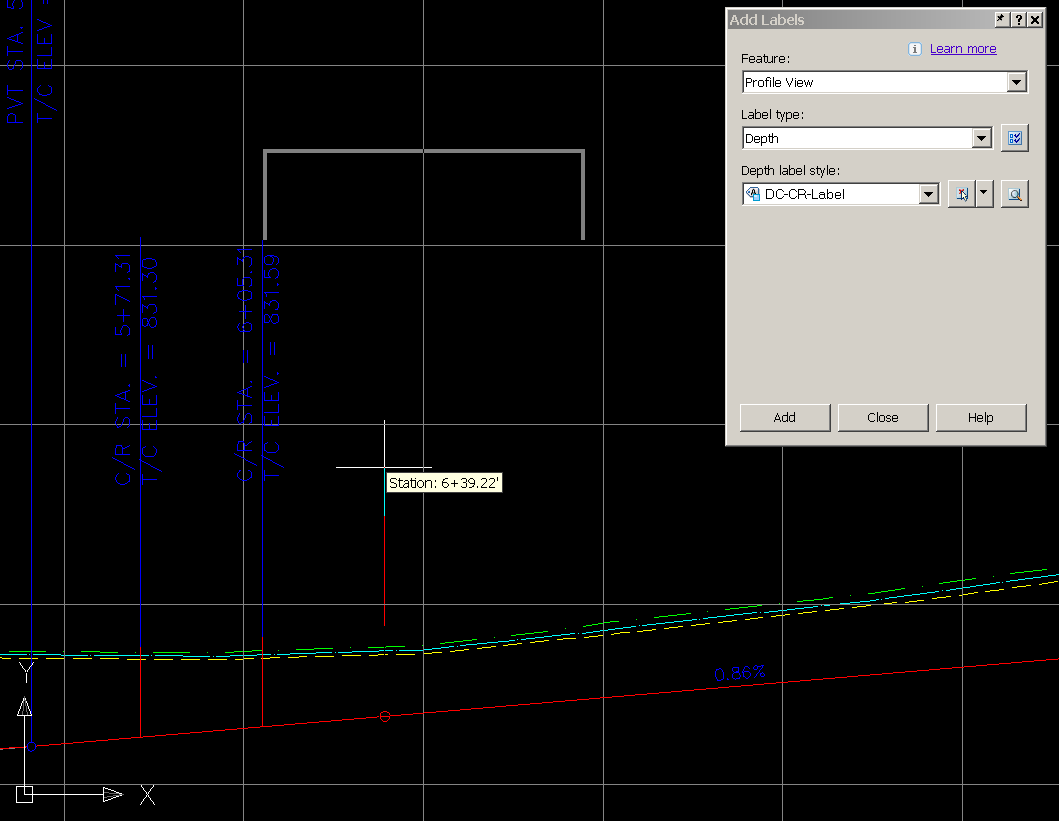
Now select the newly composed label:
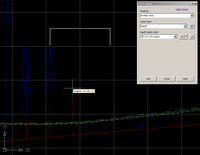
Adding the labels to the profile view is a breeze now that we have nodes to snap to (if you don't remember putting nodes on the profile, re-read yesterday's post). Simply snap onto the node of the various points and drag in the direction you want the label.
As a final cleanup, change the marker style of the "CR" point group to "none"
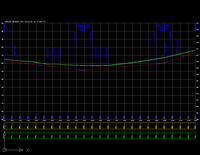
Now we have labeled all the curb returns, intersections, and any other critical stations without offseting or drawing any line in our profile view. Also, there was no need to label a single critical station in plan view for future reference!
Enjoy!
Labeling Critical Points
None of the out of the box labels really work the way I would like them to, but that doesn't mean that AutoDesk didn't provided the tools to make a label like I want!
Let's start by making some new expressions. No, it's not a mistake, I am making the expressions under the Depth label category, even though I will eventually be labeling a station and elevation. Why? Because I like the look and feel of the depth label, it just doesn't label what I want it to...out of the box.

Two expressions need to be created. One for the station of the selected point and one for the elevation of said point. Pay close attention to the format that the results will displayed as. Now is a good time to extend your cad standards and naming convention to expressions.
Station Expression:
Elevation Expression:

Now that we have the expressions built, let's combine then into a label that we can use.
First, create a new label:
Now, let's format the label to take advantage of the new expressions:

After creating the new label style, it's time to label the critical points on our subject profile.
Profiles>Add Profile View Labels...
Now select the newly composed label:

Adding the labels to the profile view is a breeze now that we have nodes to snap to (if you don't remember putting nodes on the profile, re-read yesterday's post). Simply snap onto the node of the various points and drag in the direction you want the label.
As a final cleanup, change the marker style of the "CR" point group to "none"

Now we have labeled all the curb returns, intersections, and any other critical stations without offseting or drawing any line in our profile view. Also, there was no need to label a single critical station in plan view for future reference!
Enjoy!
posted by Matt Castelli at
8:01 AM
![]()
![]()

1 Comments:
That should be a default OOTB toolbar. Plain and simple.
By Nick Zeeben, at 9:30 PM
Post a Comment
<< Home